Field observations
PREPARING FOR SPRING 2021
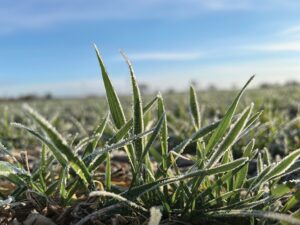
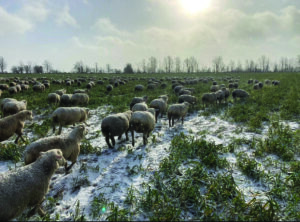
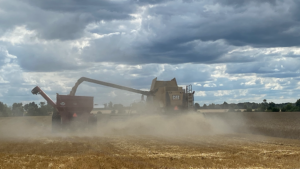
AFTER A SUCCESSFUL 2020 growing season for some of the province, many are looking to 2021 to be a great year. Crop prices are ranging in levels we have not seen in years, winter wheat was planted in a timely manner, and if we get a few seasonably warm days the snow in many parts of the province will begin to disappear, inching us closer and closer towards spring.

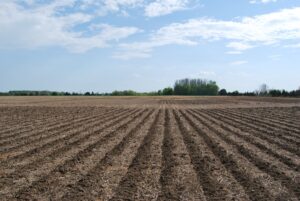
FIELD PREPARATION
Many fields in the fall of 2020 were harvested in close to ideal conditions, unlike 2019 where many fields could be seen with ruts from harvest or was still unharvested at this time of the year.
Spring 2021 already has a better feel to it as the open fall of 2020 has set us up for a good start. But, with that said, some fields still may need remedial actions.
If field work is a must, be aware that spring tillage is not the same as fall tillage. There is a lot less forgiveness in spring tillage, make sure that you are not making the situation worse by working when the ground is unfit. The higher the clay content, the worse it will be. Working wet clay ground with primary deep tillage causes lots of smearing and reduces soil pores. Don’t smear and compact the soil, it will be something you pay for all year until the next winter freeze cycle helps to recondition the soil. Stay off wet soil and consider fixing up the planter and drill to accommodate the stubble. If you used cover crops, anticipate higher residues from a good fall growing season and remember that not all cover crops are winter killed, plan accordingly.
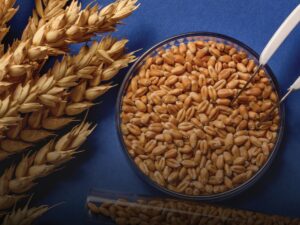
SEED SELECTION
Most farmers have their seed sitting in the shed, ready to plant. Seed selection occurred last fall when the early booking/payment deadlines approached. But did you get what you had planned for? Is the seed size what you think it is? Be sure you go over the planting plan, list out the hybrids and varieties. Match them up to the fields you want them on based on agronomic considerations, such as herbicide programs or fertility zones.
It is a good idea to record everything, so when the rush hits and a key player like yourself is not available, others can step in and execute your planting plan. Make sure whoever is planting confirms what was planted and were, that way the right herbicide and fungicide programs are applied to the correct fields. Keeping good records limits the chance of spraying the wrong herbicide on the wrong crop. If you are needing to order more seed, see the Grain Farmers of Ontario factsheet on choosing seed.
PLANTING
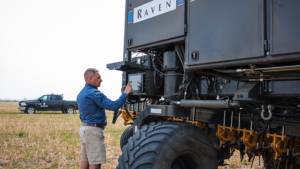
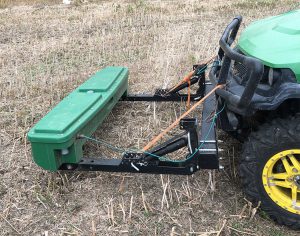
Before you start in the field, make sure you spend the time needed to thoroughly inspect and fix your planter for 2021 planting. Many farmers have spent the winter at home and have spent that time in their shops modifying planter set ups. Setting up the planter is a key step in assuring you maintain your maximum yield through stand establishment. Mistakes can cost dearly in down time or in limiting your yield potential.
- Planter tires – right size and good condition. Check air pressure and adjust to correct pressure, consult your manual, wrong tires or pressure level will affect your planted population. Then make sure the planter is level, start with correct tongue height with your planting tractor, then check planter frame for levelness.
- Parallel linkage arms – check for free smooth movement up and down. Also check side to side movement. If too much movement occurs this indicates that the bushings are worn and may need replacing. Also make sure all linkage arms are straight and not bent.
- Planter drive chains – check that the chains are not binding, make sure all chains run smoothly and are not worn out. The drive chains need to run smoothly to help make the planter run correctly. Jumps and jerks will affect plantability and give seed skips in stands. Oil the chains and check the gears.
- Gauge wheels – need to be free moving and slide up and down snuggly in order to make sure the row unit runs at the set depth. When checking, pull wheels up and check for sideways movement. If there is too much movement, tighten the arms.
- Double disc openers – need to touch each other for a 1.5 to 2-inch distance along the disc tips to help create a V seed trench. If the discs don’t touch, they could be worn down or misaligned. Measure the diameter of the discs and make sure they fall within the equipment manufacturers guidelines. Typically, if they are smaller than 14.5 inches they need to be replaced. Proper V trench is essential for uniform seed placement in the trench and is the start to best seed to soil contact.
- Seed tube guard – protects the seed tube, worn tube guards need to be replaced before wear starts on the seed tube.
- Seed tube – inspect all seed tubes to make sure they are not damaged, if they are worn or cracked, they can cause the seed to bounce which causes uneven seed spacing in the trench. If they are worn, you will also need to replace the seed tube guards as seed tube wear is an indication of worn out guards.
- Seed singulation – make sure they have been bench tested so you know the accuracy of your row units. Typical items that are checked are the condition of the knock off brushes, the dimple wear on the backing plate, and spring tension (on finger units). All of these help to reduce the amount of double seeds being planted. Air planters need inspection of the brushes and plates for wear. Check that correct pressures can be maintained in the air system uniformly along all planter units. Check that each unit’s drive clutch aligns and doesn’t cause slips leading to seed skips in the field. Realign as required.
- Closing wheels – need to be freely rolling, if wheels are loose with too much play the bushings will need to be replaced. Make sure the double disc opener lines up in the middle of the closing wheels.
- Starter fertilizer disc and tubes – need to be operational and in the right position. This also needs to be checked when in the field, but make sure it is set up properly before you go to the field. If you are using dry starter fertilizer, make sure you have the fertilizer band far enough away from the seed as to prevent fertilizer burn on the seed. Most growers use 2×2-inch band from the seed, although it depends on source of fertilizer and rate so check with your supplier. If you ever see seed in the field that looks dead but has a bit of whitish crystals on it- that is fertilizer burn. It is not poor seed; it is fertilizer that was placed too close to the seed. This may have occurred due to loose coulters that moved while planting, or something like rocks may have hit them loose. If you are using liquid fertilizer, check your pump and drive chains.
When you think the planter is ready, do a test run and check that the double disc opener is in the middle of the closing wheels and not off to one side. If they are, realign them or check why they are not aligned. Is something bent or broken? Closing wheels need to be centred over the double disc opener so that the seed has uniform soil pressure on both sides equally.
When you start planting, check the level of the planter tool bar. Planters need to run level so the correct pitch is placed on the row unit. A level unit will make the correct V trench with the double disc opener in the right spot in the soil and place the seed uniformly in the bottom of the trench. When the tool bar is not level the row unit will have too much pitch and will have the disc contact spot too forward or backwards causing the trench to be flat bottom or W shape, this in turn causes seed placement to be sporadic.
When in the field, check your down force by checking the gauge wheels, adjust as required for the conditions. Too much pressure which prevents you from rotating the gauge wheels also will cause excess wear and tear on the equipment and puts too much pressure on the seed trench leading to side wall compaction problems. If the gauge wheels run too freely then there is not enough down force to position the row unit and the unit will float causing uneven planting depths. Gauge wheels should be snug, not tight or loose.
Uniform seed placement is the goal of your finely tuned planter. To make sure the planter is operating properly do a few field checks and check for seed placement in the row. Is seed at the right depth? Is there proper seed to soil contact? Is there enough soil moisture at this depth? Is the fertilizer placement correct? If not, make the adjustments for your conditions so you can maximize your crop potential. If the planter is bouncing in the field, slow down as all the excessive movement and vibration not only places the seed at variable depths but can also cause seeds to be dislodged from your singulator creating skips in the field.
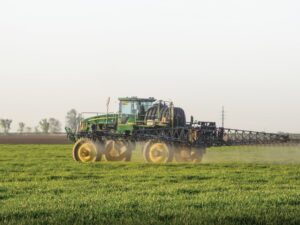
WEED MANAGEMENT
Be aware of the weed species you need to manage field by field. If you have identified resistant weeds or know they are in the area, make sure your weed strategy includes multi-modes of action and methods of weed control to prevent weed escapes on your farm. Relying on a single method or single mode of action will cause resistance issues. Be selective of your seed hybrids and varieties and use the proper herbicide to avoid crop injury.
GRAIN MARKETING
Even though it is almost spring, it is imperative to keep one eye on the markets and take advantage of any seasonal weather markets as planting progresses. Know who you will be marketing your crop with and make sure the hybrids you grow are accepted by the receiving elevator.
Have a great and safe #plant2021. •